Home > Tips > Adobe Lightroom Tips > Color Grading in Adobe Lightroom
Most photographers will be familiar with the Lightroom app from Adobe which comes packed with features with which users can manipulate their digital images. One of the most commonly used tools involves applying different image Presets which can drastically alter the look of the photograph.
When you go under Presets you will be greeted with a large selection of filters (or looks) nestled under three categories:
- Recommended
- Premium
- Yours
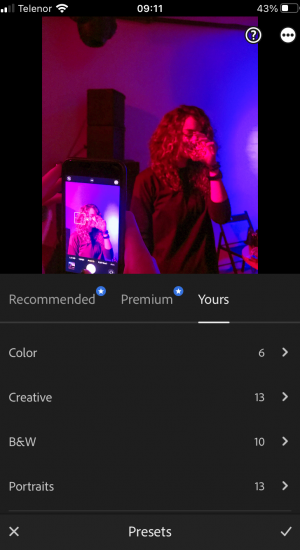
You’ll find many different user-created suggestions under Recommended and under Premium are all the different styles you can get with a paid subscription. Most will opt for the Yours category as that’s where all the free in-built parameters can be found.
Under Yours you will find the following:
- Color
- Creative
- B&W
- Portraits
- Defaults
- Curve
- Grain
- Optics
- Sharpening
- Vignetting
Each of these parameters has further sub-menus that can offer up all the different parameters that can be changed. Our recommendation, in this case, is instead to opt for a somewhat different, but altogether easier way to alter your photographs.
Navigating away from Presets towards the right, you’ll find Color whereby clicking on it you will see the options for B&W, Grading and Mix.
Click on Grading and you will see three different color wheels which you can manipulate.
The color wheels represent the following:
- Shadows
- Midtones
- Highlights
- Global
Essentially, selecting either of these will give you the ability to intuitively (by guiding your finger within the Color wheel) adjust the image parameters on the fly and to a very specific degree of precision.
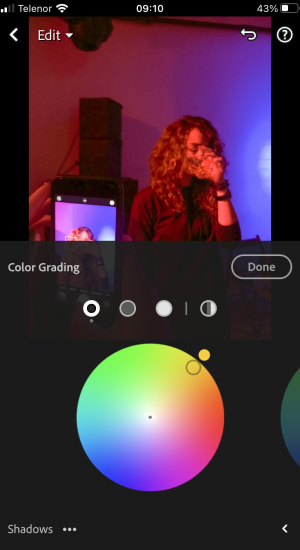
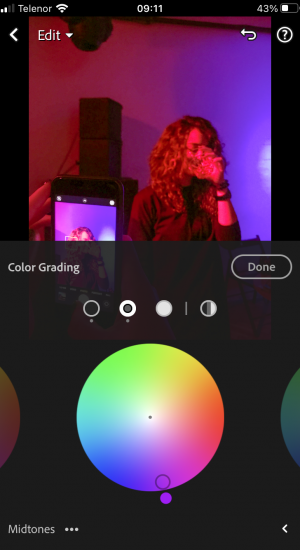
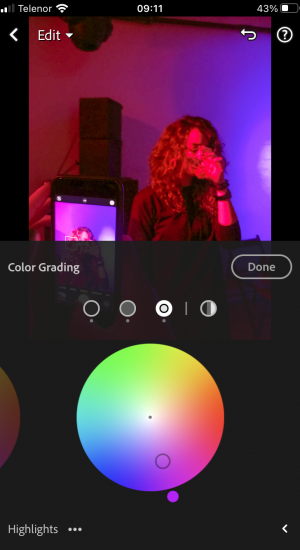
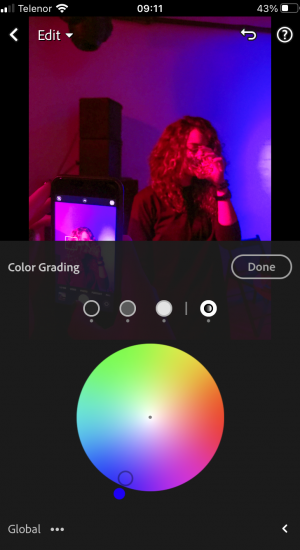
Shadows, Midtones and Highlights give you the option to tweak these individually, or pick Global to adjust all three at the same time. We found this method to be a somewhat less intimidating task than having to go through the many Presets available.

